- Home
- Catalog
- Products for manicure
- Gel polishes
- Kira Nails
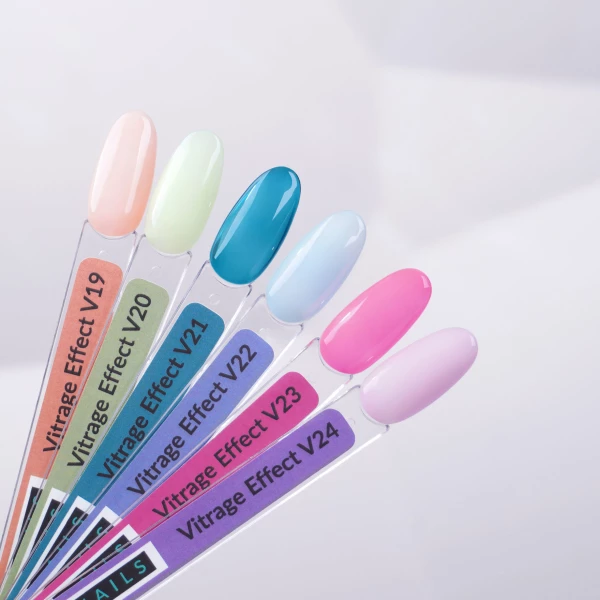
- Vitrage Collection
- Dark Smart Builder gel 24, 15 ml
Dark Smart Builder gel 24, 15 ml
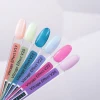
The main difference between Kira Nails Vitrage is its transparency, which makes the nails look like jelly or marmalade.
By the way, there is not a single exceptional color among the top colors for such a manicure - each of them is extremely popular. Any of the #kiranailsvitrage shades will look incredibly stylish and cool.
No wonder Kira Nails Vitrage gel polishes are also called "crystal" and "lollipop".
⠀
They allow you to create luxurious volumetric compositions with a perfect surface and special depth. Due to their consistency and texture, stained glass gel polishes are successfully used in combination with various materials and coatings:
⠀⠀⠀
1. With sparkles, glitter, and scales - the most popular type of manicure design, which even beginners can do without any hassle. ⠀⠀
2. Design with transfer foil - nails look very expressive, creating the effect of Venetian glass with shimmering edges, amber, seabed. It is good to combine with a colored gel polish substrate, preferably black. ⠀⠀
3. Liquid stones - by combining stained glass gel polish with a transparent gel, you can get a composition that perfectly holds the drop and create a beautiful imitation of precious gems (rubies, topazes, emeralds, etc.). ⠀⠀
4. Combination with gel polishes that have unusual properties in themselves - magnetic (Cat's Eye series), with a high content of shiny inclusions (24Karat series) ⠀⠀ 5.
5. Various combinations with other decorative elements - rhinestones, mica, marble chips, gold threads, tape, etc.
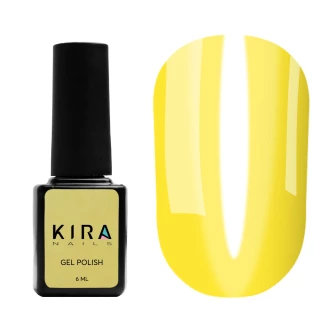
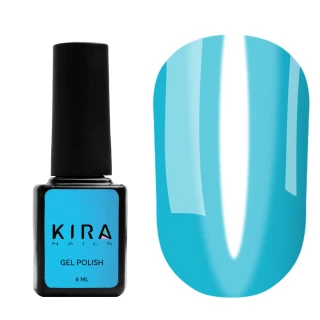
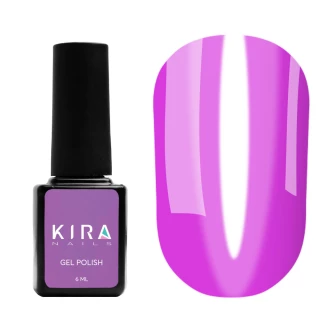
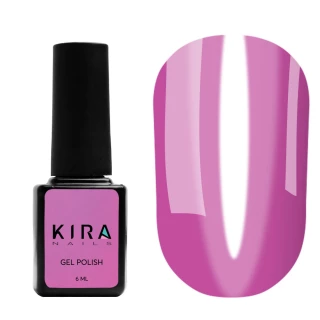
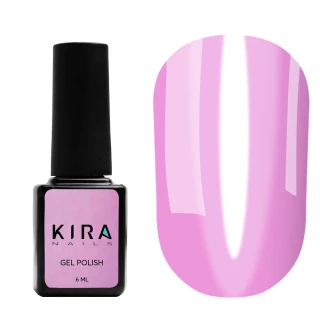
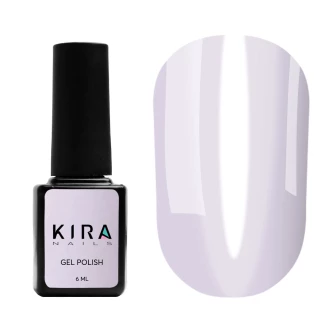
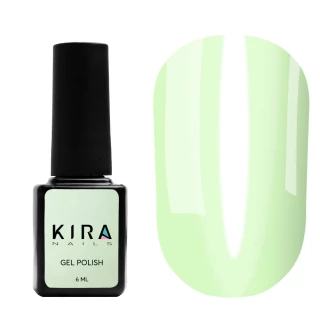
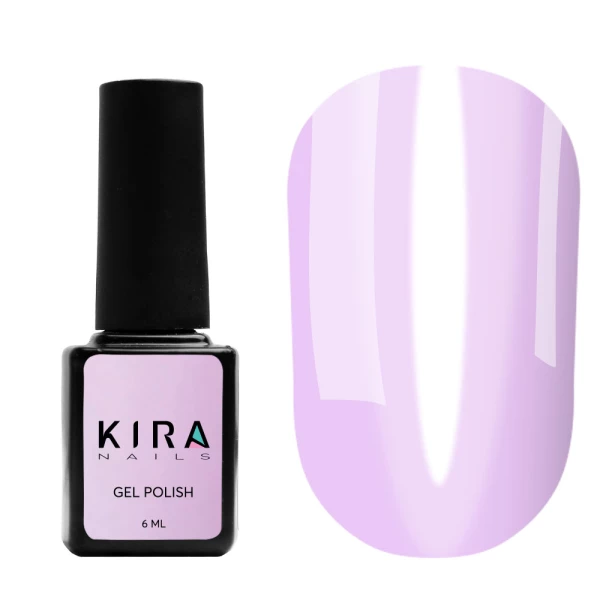
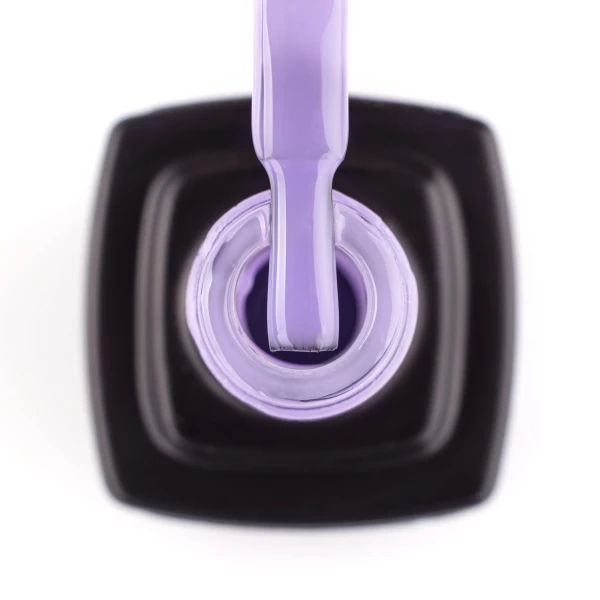
Kira Nails Vitrage gel polish No. V24
Color: lavender, stained glass
Volume: 6 ml
KIRA NAILS GEL POLISH APPLICATION TECHNOLOGY:
1.Nail preparation:
- Carry out standard nail preparation: remove the previous coating with a special nail polish remover or with a nail drill bit.
- Carefully remove the cuticle with a pusher or special tools.
- Use a nail surface buffer to remove the glossy layer and create a roughness for better adhesion to the material.
- Shape the nails to the desired shape with a nail file.
2. Clean and prepare the plate:
- Use a dehydrator to clean, dry, and degrease the nail plate, preparing it for gel polish application.
- Let the dehydrator dry naturally for 30 seconds.
- If necessary, apply an acid primer or ultra-bond (a special acid-free preparation) to provide additional adhesion between the natural nail and subsequent coatings.
3. Apply a base coat:
- Apply a thin layer of gel polish base coat, thoroughly covering the entire surface of the nail.
- Dry the base coat in the LED lamp for 60 seconds.
- If necessary, remove the sticky layer of the base coat to facilitate the application of colored gel polish.
4. Apply colored gel polish:
- Apply the first thin coat of the main color of the gel polish, sealing the ends of the nails to prevent chipping.
- Dry the layer in the LED lamp for 60 seconds.
- Repeat the procedure for the second layer of colored gel polish, if necessary, sealing the ends of the nails again.
- Make sure that each layer covers the surface of the nail evenly.
5. Apply the top coat:
- Apply a thin layer of top coat, sealing the ends of the nails for a long-lasting manicure.
- Dry the top coat in the LED lamp for 60-90 seconds.
- If the top coat has a sticky layer, remove it with lint-free wipes and a special sticky layer remover.
6. Finish the procedure:
- When the top has cooled, apply cuticle oil, massaging it into the skin around the nails for additional moisturizing and care.

